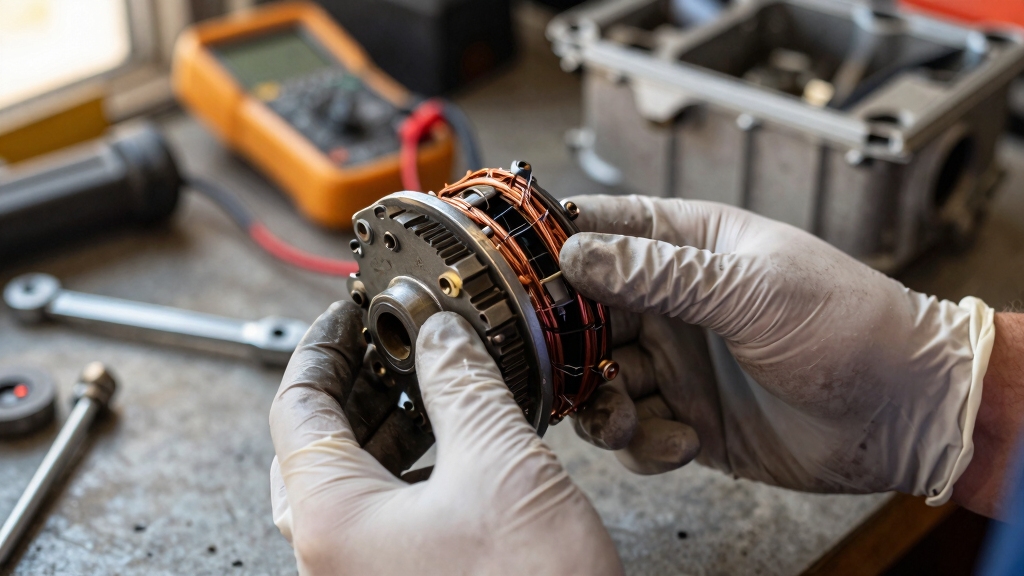
To check your ATV stator, disconnect the connector and use a multimeter set to ohms to test resistance between terminals, expecting specific values or open circuits for good windings.
Inspect wiring and connectors for damage or corrosion. Test ground insulation by measuring resistance between each terminal and the stator body, aiming for no continuity.
Run the engine and measure AC voltage output at specified RPMs to confirm proper function. If issues persist, further troubleshooting steps can help pinpoint faults.
Key Takeaways
- Set a multimeter to ohms and measure resistance between stator terminals, comparing values to the ATV service manual.
- Check for insulation shorts by testing resistance between each stator terminal and the metal stator body; expect an open circuit (OL).
- Inspect wiring and connectors for damage, corrosion, loose pins, or frayed wires before electrical testing.
- Measure AC voltage output between stator terminals at 1,300 and 3,000 RPM, verifying it matches service manual specs.
- Test for spark issues by confirming proper AC voltage during engine cranking and inspecting ignition components if needed.
How to Test Stator Resistance With a Multimeter?

Begin by setting your multimeter to the ohms (Ω) mode to measure the resistance between the stator terminals.
Next, disconnect the stator connector and test resistance between terminal pairs: pins 1-2, 2-3, and 1-3.
Place your multimeter leads firmly on each pair, ensuring good contact to avoid false readings.
Compare the resistance values to the specifications in your ATV’s service manual.
Expect to see an open circuit (OL) reading if the windings are intact and not shorted internally.
A zero-ohm or near-zero reading between terminals indicates a short circuit, signaling stator failure.
This test helps you quickly verify the continuity and integrity of the stator windings before proceeding to more detailed diagnostics or replacements.
For best results, perform this test in a well-ventilated area to ensure safety while working with electrical components.
How to Check Stator Ground Insulation for Shorts?
To check the stator ground insulation for shorts, you’ll need to use a multimeter set to measure resistance or continuity.
First, disconnect the stator from the ATV’s wiring harness to isolate it. Place one multimeter lead on a single winding terminal and the other lead on the stator’s metal body or ground.
You want to see an open line (OL) reading, which indicates no short to ground. Repeat this test for each of the three winding terminals individually to verify insulation integrity across all phases.
Any measurable resistance or continuity reading other than OL suggests a breakdown in ground insulation, meaning the stator is damaged and should be replaced.
This method guarantees you detect any internal shorts compromising the stator’s performance and safety. For accurate results, ensure that all wiring and connectors are inspected for damage or corrosion before testing wiring inspection.
How to Inspect Stator Wiring and Connector Terminals?
When inspecting stator wiring and connector terminals, focus on identifying any signs of wear, corrosion, or damage that could impair electrical continuity.
Start by visually examining the wiring harness for cracks, frays, or exposed wires. Check the connector terminals for corrosion or bent pins that may disrupt the electrical flow.
Visually inspect wiring harnesses for damage and check terminals for corrosion or bent pins affecting electrical flow.
Make sure the connectors fit snugly without looseness. Use a multimeter to verify continuity through the wiring if physical inspection reveals issues.
- Look for insulation cracks or melted sections on wires.
- Inspect connector terminals for corrosion, oxidation, or discoloration.
- Confirm connectors seat firmly and locks engage properly.
- Test wiring continuity with a multimeter to detect breaks.
This thorough inspection prevents electrical faults and ensures reliable stator performance. Maintaining proper electrical connections is essential to avoid premature tire wear caused by vibrations from imbalanced components.
Measuring Stator AC Voltage Output While Engine Runs
Measuring the stator’s AC voltage output while the engine runs provides critical insight into its operational health.
First, set your multimeter to the AC voltage range. Locate the stator’s electrical connector with three similarly colored wires. Then measure voltage between terminal pairs 1-2, 2-3, and 1-3.
Have an assistant hold the engine at specified RPMs, typically 1,300 and 3,000 RPM. Record the voltage readings.
Compare your measurements against the service manual’s voltage specs, usually around 21 volts AC ±25% at 1,300 RPM and 47 volts AC ±25% at 3,000 RPM.
Make certain the battery is charged before testing to get accurate outputs. Positive voltage readings within these ranges confirm the stator is generating properly while the engine runs. For accurate testing, it is important that the battery is in good condition and fully charged to avoid misleading voltage results.
Troubleshooting No-Spark Problems With Stators
Confirming proper AC voltage output at specified engine speeds indicates the stator is functioning electrically. However, no-spark issues can still arise from stator-related faults.
To troubleshoot no-spark problems, start by isolating the stator and wiring harness. Here’s how you proceed:
- Disconnect the wiring harness from the stator connector to prevent false readings.
- Measure voltage between the red and black wires; expect about 50 volts AC during engine cranking.
- Test secondary circuits by checking voltage on remaining wires to pinpoint specific phase failures.
- Inspect the spark plug and ignition components to rule out external causes before replacing the stator.
Following these steps helps you identify stator faults causing the no-spark condition efficiently and accurately. Regular maintenance and proper handling of motorcycle safety components are essential to avoid related electrical issues.
Frequently Asked Questions
What Tools Do I Need Besides a Multimeter to Test a Stator?
Besides a multimeter, you’ll need a few essential tools to test a stator effectively.
Grab a screwdriver to remove terminal clips and access wiring.
Use wire cutters or strippers to expose coil wires if insulation needs checking.
An assistant helps hold the engine at specific RPMs for dynamic testing.
Also, keep the ATV’s service manual handy for reference on voltage and resistance specs to compare your readings accurately.
How Often Should I Perform Stator Maintenance on My ATV?
Just like knights routinely polished their armor, you should inspect your ATV stator every 12 months or 1,000 miles, whichever comes first.
Regular checks prevent unexpected failures by spotting resistance shifts or grounding issues early. If you ride in harsh conditions, test it more often.
Use a multimeter for resistance and insulation tests, and refer to your service manual for specs.
Staying proactive saves costly repairs and keeps your ATV running smoothly.
Can a Faulty Stator Cause Battery Draining Issues?
Yes, a faulty stator can cause battery draining issues. When your stator fails to generate sufficient AC voltage, it won’t properly charge the battery, especially under load.
You’ll notice the battery voltage dropping despite running the engine. To confirm, test the stator’s AC output at specified RPMs with a multimeter and check for open circuits or grounding faults.
Repair or replace the stator if readings fall outside manufacturer specifications.
What Are Common Signs of a Failing Stator Before Testing?
You might think a stator fails suddenly, but it often shows signs first.
You’ll notice dimming headlights, difficulty starting, or the engine stalling unexpectedly.
Battery draining despite a good battery and charger also hints at stator trouble.
You may feel inconsistent power delivery or notice a burning smell near the engine.
Catching these symptoms early helps you avoid costly breakdowns by prompting timely testing and repairs.
Is It Safe to Test the Stator Without Disconnecting the Battery?
No, it’s not safe to test the stator without disconnecting the battery. Leaving the battery connected can cause inaccurate readings and risk electrical shorts or damage to the multimeter.
Always disconnect the battery first to isolate the stator circuit. This prevents backfeed voltage and guarantees your resistance and continuity tests reflect the stator’s true condition.
Protecting both your equipment and the ATV’s electrical system is essential.
Keep Your ATV Running Strong with Proper Stator Testing
Checking your ATV’s stator is like tuning a finely crafted instrument. It guarantees every spark sings in harmony.
By testing resistance, inspecting wiring, and measuring voltage output, you’re pinpointing hidden faults before they silence your ride.
Don’t let a faulty stator leave you stranded. With these practical steps, you’ll keep your ATV’s heart beating strong and reliable, ready to conquer any trail with confidence and precision.