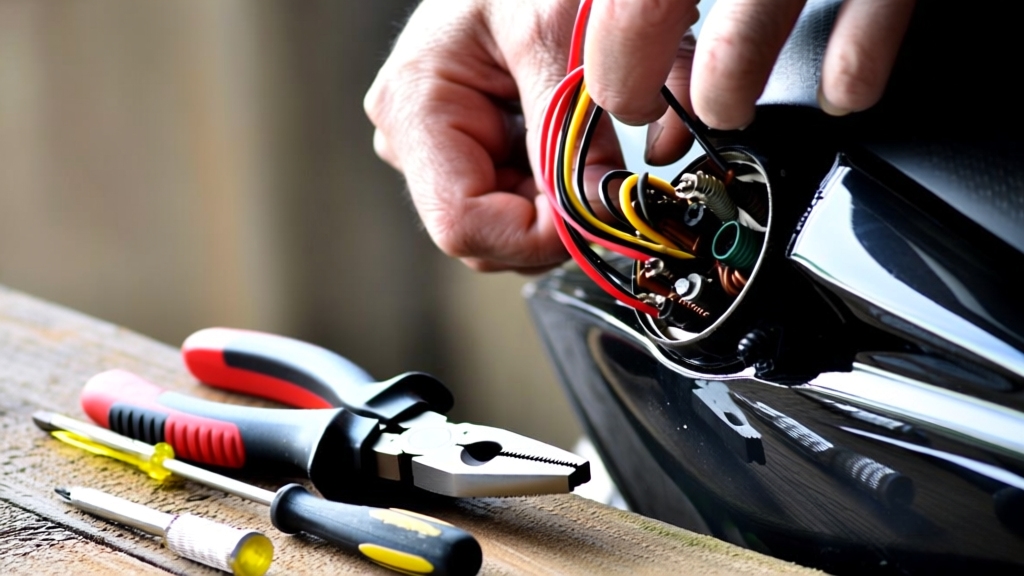
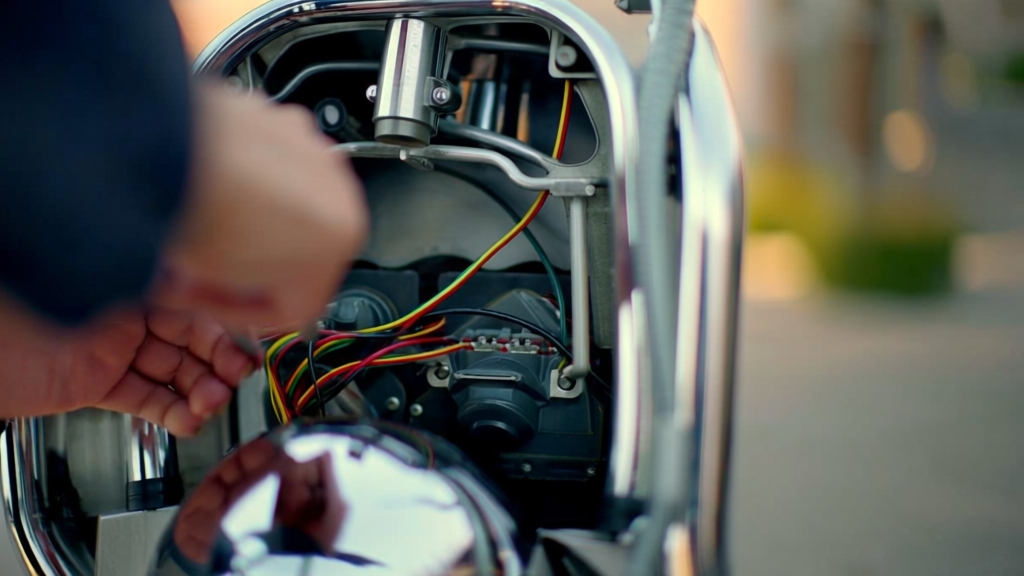
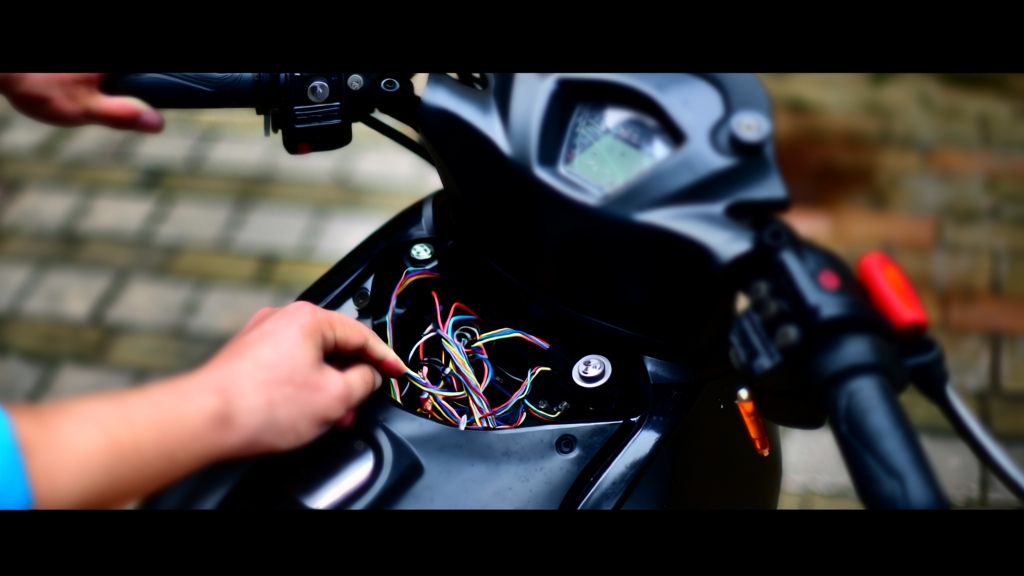
To hotwire a scooter, first gather tools like wire strippers, a multimeter, and electrical tape. Identify key ignition wires—usually red for power, green for ground, and black/white for ignition output using a multimeter and schematics.
Carefully strip and connect the power and ignition wires to simulate the “on” position, then briefly bridge the starter wire to the battery. Different scooter models vary, so knowing precise wiring is vital to avoid damage or shorts.
Understanding these basics sets the stage for more detailed techniques and safety tips.
Key Takeaways
- Identify and confirm the ignition wires: typically red (power), green (ground), and black/white (CDI/accessories) using a multimeter and wiring diagrams.
- Remove the ignition panel carefully to expose the wire harness on a stable surface for safe handling.
- Strip insulation from battery-positive (red) and ignition output (black/white) wires, then connect to simulate the ignition “on” position.
- Bridge the starter signal wire to battery positive briefly to engage the starter relay and start the engine.
- Always insulate connected wires properly and exercise caution to avoid shorts, personal injury, or damage to the scooter’s electrical system.
Tools and Materials Required for Hotwiring

Before you begin hotwiring a scooter, you’ll need a specific set of tools and materials to guarantee the process is efficient and safe. Equip yourself with basic hand tools: a flathead screwdriver for ignition covers, wire strippers or cutters to safely expose copper wiring, pliers for secure wire handling, a small hammer to loosen components, and a socket set to remove bolts or panels. Work in a flat, clear area to avoid complications during the process.
Electrical materials include electrical wire for circuit bridging, electrical tape for insulation, spare fuses, wire connectors for quick joins, and heat shrink tubing to shield splices. In some cases, you might not need many tools if the wires are exposed, making the process simpler.
For diagnostics, use a multimeter to test voltage and continuity, a wire tracer if diagrams aren’t available, and an insulated screwdriver for safe probing. Don insulated gloves and safety goggles, keep a Class C fire extinguisher nearby, and use non-conductive mats to reduce shock risk. Ensuring all safety precautions when handling electrical components will minimize the risk of injury or damage.
Identifying the Correct Ignition Wires
Having gathered the necessary tools and materials, your next step is to accurately identify the ignition wires within the scooter’s wiring harness.
Focus on the common wire colors: red for power, green for ground, and black or black/white for CDI and accessories. Proper maintenance and regular inspection of wiring can prevent premature component failure, contributing to overall scooter durability.
Use a multimeter to verify continuity and voltage, especially for ground and CDI wires. Confirm wiring against a model-specific diagram whenever possible to avoid errors. Label wires carefully once identified to streamline the hotwiring process. Remember that the green wire functions as ground for the CDI, connecting to the chassis or frame to disable ignition when grounded.
| Wire Color | Function | Notes |
|---|---|---|
| Red | Power supply from battery | Connects to ignition and accessories |
| Green | Ground | Completes circuit, often frame or battery |
| Black/White Stripe | CDI connection | Controls spark timing and ignition disabling |
Step-by-Step Hotwiring Method

Once you’ve prepared your tools and made sure safety measures are in place, begin by carefully removing the scooter’s ignition panel to access the wire harness. Ensure the scooter is on a stable, level surface to prevent accidental movement during the process.
Locate the battery-positive wire (usually red) and the ignition output wire (commonly black or black/white). Use a multimeter to verify power on the battery-positive wire. Remember, the red wire supplies +12V directly from the battery, acting as the main power source.
Strip the insulation from these two wires without damaging them. Twist or connect the exposed ends together to simulate the ignition switch’s “on” position. Secure the connection with electrical tape to prevent shorts. It is important to re-insulate exposed wires afterward to maintain electrical safety.
Next, engage the starter relay by bridging the starter signal wire to battery positive, causing the starter motor to engage. Once the engine starts, disconnect the starter wire but keep the ignition wires connected. Always re-insulate exposed wires and reassemble panels carefully to maintain safety and functionality.
Hotwiring Techniques for Different Scooter Models
Although hotwiring methods share basic principles, the specific techniques vary considerably depending on the scooter model you’re working with. Older and simpler scooters typically have straightforward two-wire ignition systems—often red and black—that you can connect directly to simulate the key “on” position.
Mobility scooters require identifying ignition wires linked to the battery and stripping them to bypass the ignition. Remember that starting without a key should only be done in emergencies and in accordance with local laws. For all types, proper safety precautions are essential to prevent damage or injury during hotwiring attempts.
Electric scooters, however, often include multiple wires, decoys, and electronic immobilizers, complicating hotwiring attempts and raising risks of damaging sensitive controllers.
Mechanical ignition systems allow hotwiring by bridging the “on” circuit wires, sometimes using a paper clip method after removing the ignition casing. Precise wire identification is critical to avoid shorts or damage, especially on modern models where standard wiring colors and setups don’t apply.
Safety Precautions and Legal Considerations
Because hotwiring a scooter involves manipulating its electrical system without authorization, you must understand the significant legal and safety risks before attempting it. Unauthorized hotwiring is illegal and classified as theft, exposing you to fines or imprisonment depending on jurisdiction.
Hotwiring techniques historically emerged in the 1920s with early automobiles, requiring skill and knowledge of vehicle mechanics. Modern scooters incorporate advanced security systems that complicate hotwiring and increase risk. From a safety perspective, improper handling of electrical components can cause severe damage, fire hazards, or personal injury.
Additionally, most regions have strict enforcement and penalties for unauthorized vehicle tampering. Ethically, hotwiring violates property rights and undermines community trust. Instead of hotwiring, you should consult user manuals, seek professional repair services, or explore legal alternatives like owner consent.
Prioritize protective measures such as locking mechanisms and GPS tracking to prevent theft. Always adhere to legal standards and safety protocols to avoid serious consequences.
Frequently Asked Questions
Can Hotwiring Damage My Scooter’s Battery or Electrical Components?
Yes, hotwiring can seriously damage your scooter’s battery and electrical components. It risks overheating the battery, causing swelling or failure, and can create short circuits or power surges that harm internal cells.
The controller, regulator-rectifier, capacitors, and MOSFETs may also suffer damage from incorrect wiring. Additionally, hotwiring bypasses safety circuits, increasing fire and shock hazards. This can lead to malfunction or permanent component failure. Always avoid unauthorized wiring to protect your scooter.
How Can I Tell if My Scooter Has an Immobilizer System?
Like a locked vault, your scooter’s immobilizer protects it silently. You can spot it by checking for a key with a chip or transponder, an immobilizer warning light on the dashboard, or complex wiring near the ignition.
Diagnostic scans revealing immobilizer codes or disabled starter/fuel systems without the correct key also confirm its presence. Look for electronic modules labeled as immobilizer components around the ignition or controller for a definitive sign.
What Are the Signs That Hotwiring Attempts Have Been Detected?
You’ll notice scratched or damaged ignition switches and exposed or cut wires near the ignition area. The dashboard may show red warning lights, error codes, or motor overheating icons. Performance issues like failure to start properly, motor cut-outs, or irregular throttle response also indicate tampering.
Additionally, built-in immobilizers might activate, blocking starter engagement. Diagnostic tools could reveal abnormal wiring resistance or sensor failures, confirming hotwiring attempts.
Is It Possible to Hotwire Scooters With Push-Button Start Systems?
Imagine trying to pick a digital safe without the code—that’s what hotwiring a push-button scooter feels like. It’s not impossible, but you’ll need advanced electronic knowledge to bypass the ECU’s security signals.
Without proper authorization signals, the scooter won’t start. So, while traditional wire-jumping won’t work, skilled technicians can install bypass switches, but this requires detailed wiring diagrams and risks disabling essential features. It’s a complex, technical challenge.
How Do Weather Conditions Affect the Hotwiring Process?
Weather conditions greatly impact your hotwiring attempts. Moisture from rain or humidity risks short circuits by compromising insulation. Cold stiffens wiring, making manipulation harder.
Heat expands wires, which may help contacts but risks melting or fuse failure without heat-resistant materials. Dirt and debris from weather accumulate in connectors, hindering electrical contact. You’ll need extra care and precision adjusting techniques to overcome these environmental challenges and guarantee successful hotwiring.
Mastering the Basics Before Advanced Hotwiring Techniques
Hotwiring a scooter demands precision and respect for both the machine and the law. By carefully identifying the ignition wires and following the step-by-step method, you can bypass the ignition system like a skilled locksmith.
Remember, this technique isn’t a free pass—it’s a tool to be used responsibly and legally. Always prioritize safety and legality; the spark you create should power the engine, not trouble. Handle with care and knowledge.

