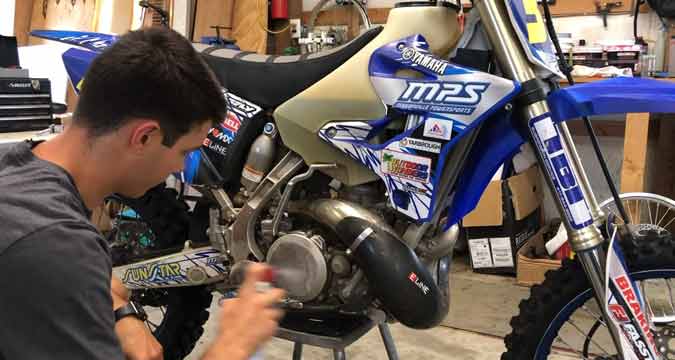
Dirt bikes are expensive, and if you’re not careful, they can get scratched up pretty easily. To keep your dirt bike plastics looking like new, all you need is a little bit of preparation.
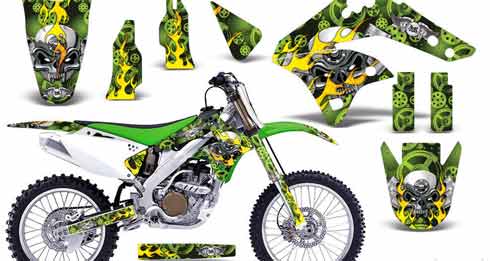
However, this relatively easy process can give your bike a whole new look. So if you’re looking for a way to customize your ride, consider giving this project a try.
This article will discuss when it’s ok to paint dirt bike plastics and what paints work best on different dirt bikes.
The Purpose of Painting a Dirty Plastic Bike
If you own a dirt bike, the chances are that they get scratched up pretty easily.
Plastics on the outside of bikes can be easily damaged through normal wear and tear. Abrasive surfaces like rock or sand will scratch the plastic. Even raindrops and dew can leave watermarks under your seat or behind your handlebars.
In most cases, it’s a good idea to keep your bike looking new. However, if you’re opting for complete customization of your bike, this isn’t always an option.
That’s why painting dirt bike plastics are such a great idea. You can customize the look of your bike without having to repaint or replace its actual parts.
The Best Time to Paint Dirt Bike Plastics
As with most painting projects, the best time to paint dirt bike plastics is to wash them.
That way, any unwanted dirt or mud gets wiped off before you get started. This will make it much easier for your new paint job to adhere appropriately.
If you don’t have time to clean your dirt bike plastic before starting this project, just wash them well before putting them back on your bike. As long as you’ve adequately prepared dirt bike plastics for painting, you can paint dirt bike plastics at any time of year.
How to Paint Your Dirt Bike Plastics?
Before you start painting dirt bike plastics, it’s essential to determine what type of paint will work best on the specific model.
Not all paints are safe for all types of plastics.
Many people also use spray cans to paint their bikes, but this isn’t always the most effective way to get even coverage. It can also leave tricky, hard-to-erase drip marks behind.
So before you get started with anything else, it’s best to look up which paints are safe for your specific type of dirt bike plastic. Once you’ve found the right paint, here’s how to go about this project:
Step 1: Prep and Clean Your Plastics
Start by cleaning the dirt bike plastics thoroughly. As mentioned earlier, just doing this can give your bike a whole new look once you’re done painting them.
Make sure to get between crevices or seams where dirt can build up over time. If necessary, use a cleaner made specifically for plastic to help lift off any scuffs and marks.
Once your plastics are ready to go, let them dry completely.
Step 2: Apply Primer (if necessary)
Primer is designed to give plastic its initial layer of protection. Without it, the paint you apply won’t hold up as well on your bike’s plastic parts.
However, not all paints require primer. So if you don’t have any primer handy, you can skip this step. Once the plastic has dried completely, proceed to Step 3.
If your paint does need a primer coat, follow these steps:
Make sure your dirt bike plastics are clean and dry before repainting them with the primer. You don’t want any additional dirt or dust ruining your paint job.
Apply the primer coat to your plastics using a disposable brush or roller. As with your paint, make sure to cover any crevices and seams completely. Otherwise, you might end up feeling like these lines show through once you’re done painting.
Wait for the primer coat to dry thoroughly before moving on to Step
Step 3: Apply Your Paint
Take your time with this step. Using a paintbrush, carefully apply the paint to the plastic by following the grain of the plastic’s texture. This will help reduce any brush lines that show through once you’re done painting.
Do two light coats of paint rather than one heavy coat – it’ll be much easier to work with and result in a better-looking finish.
Remember that the paint you are using is made for plastic, so don’t use too much of it at once.
Be careful not to get any paint on your rubber gaskets or other parts of your dirt bike frame. And if you’re working with spray paint, make sure to wear protective gear before moving on to Step 4.
Step 4: Allow the Paint to Dry
The official drying time for your paint will vary depending on which one you use.
Check the label for specific information about your paint’s required drying times; this step must be completed properly.
The last thing you want is your paint to smudge or get ruined, so be sure it’s completely dry before moving on to the next step.
Tips and Tricks for a Successful Paint Job
We’ll give you some tips and tricks for a successful paint job below:
- If you’re working on multiple plastics, sand and paint them one at a time. This way, if any of your plastics need additional sanding or touching up, it’ll be easier to work with during the next step.
- Cover parts of your bike that you don’t want to be painted with painter’s tape to avoid getting color on them.
- If you’re using spray paint, wear plastic gloves to protect your hands while you work. Otherwise, the paint may end up staining your fingers.
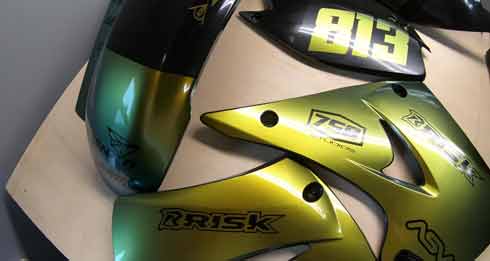
- If you’re painting dirt bike plastics that are the same color, the order you paint them doesn’t matter. However, if they are different colors, it’s best to start with the lighter one and then move on to the darker one. This way, you’ll avoid painting streaks and mistakes by using a “wet-on-wet” application process.
- After you’re done painting your plastics, let them dry for at least 24 hours before you start reassembling your dirt bike. Otherwise, dirt or dust might end up ruining your paint job.
Final Thoughts
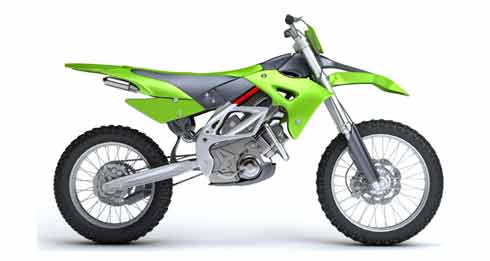
So if you’re looking for an easy and affordable way to give your dirt bike a new look, painting the plastics is a great option. Just make sure to take your time with each step, and be careful not to get any paint on other parts of your bike.
By following these tips, you’ll have a beautiful paint job that will last for months or even years.