Learning how to adjust clutch biting point motorcycle is a critical skill for riders of all experience levels.
The proper adjustment can make the difference between smooth, safe riding and an embarrassing wipe-out in front of a crowd. Luckily, it’s not difficult to do once you know what to look for.
In this article, we’ll walk you through the steps involved in finding and adjusting your bike’s clutch biting point.
What is the Clutch Biting Point?
All motorcycles require riders to use the clutch to shift gears.
Before a rider can successfully engage a gear, they must first disengage the throttle and pull in the clutch lever, which disengages power from the engine while allowing you to move your motorcycle’s gear shift.
This is the opposite of what you might do in an automatic vehicle, where you would push in the clutch while moving the gear shift with your hand.
When a rider comes to a stop, they must also pull in the clutch lever to change gears without stalling.
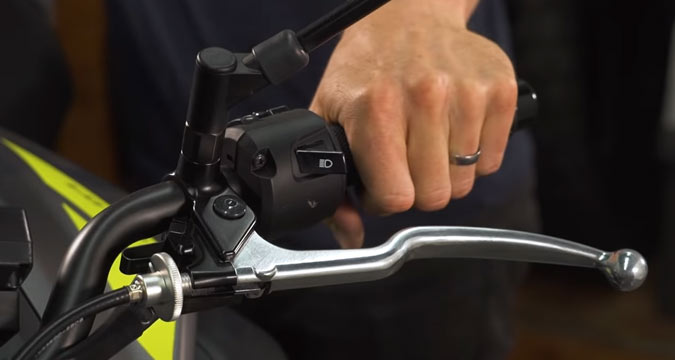
The spot at which the rider must pull in the clutch lever is referred to as the bike’s “clutch biting point.”
How to Find Your Bike’s Clutch Biting Point?
Finding the right spot for your bike’s clutch-biting point can be difficult because it varies based on factors like seating position, seat height, and overall comfort. To get started, try the following steps:
- Before turning on your bike’s engine, sit on it in a riding position with both feet on the ground.
- Put the transmission into neutral so that you can freely spin the crankshaft.
- Open your throttle until your bike runs at a steady speed.
- Slowly release the clutch until you feel resistance from the bike’s drive train, which should cause your engine to begin to slow down and stall if engaged for too long.
When you first pull your clutch lever in, it should feel that the bike will stall out any second. This initial pull-in of the clutch is referred to as “slipping the clutch.”
Top Seven Tips & Tricks on How to Adjust Clutch Biting Point Motorcycle
There are a few methods you can use to adjust your bike’s clutch biting point:
1. Check The Biting Point
Firstly, sit on your bike, put it in first gear, then open up the throttle. Now quickly change into neutral. If you stall your engine, adjust your clutch spring one way or another to move it closer to your handlebars until you can change gear without slowing.
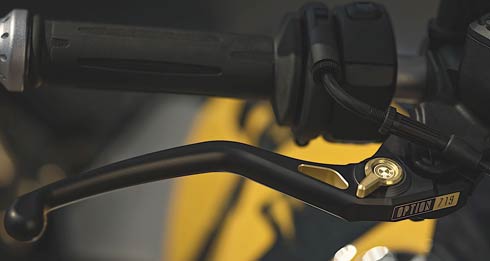
2. Locate the Adjustment Screw
You will find an adjustment screw somewhere on your bike’s clutch cover. The screw should be labeled “R” (for the right side of the bike) or “L” (for the left side).
3. Adjusting Your Clutch
Using needle-nose pliers, tweezers, or similar tools, turn the adjustment screw clockwise to decrease the biting point and anti-clockwise to increase it.
4. Adjust the Cable
Your clutch cable may also be adjusted, which will change how far you need to pull in your clutch lever for a given RPM (your bike’s revs per minute). If you think this is the problem with your motorcycle, try adjusting the cable while someone else is riding it.
5. Bleeding the Clutch
When you pull in the clutch, your bike’s hydraulic lifters may cause it to “jump start” itself (much like a car).
If this happens, you will need to bleed your motorcycle’s hydraulic system; ask an expert how to do so if necessary.
6. Add heat to The Friction Plates
If none of the above remedies help, consider adding heat (i.e., by letting your bike idle) to the friction plates in your clutch until they expand enough for you to adjust your bite point.
This will work once or twice but is only a temporary solution; you should still adjust your clutch properly.
7. Practice on A Stand
Even with the best of bite point adjustments, you will need some practice before being able to successfully ride your bike without stalling. Try practicing on a stand until you have mastered the technique.
8. Ask an Expert
If you are still having trouble getting your bike into gear, ask an expert to help you set your bite point.
9. Make Sure the Clutch Fluid Is Full
Before making any adjustments to your bike’s clutch, make sure that its hydraulic system is topped up with fresh brake fluid (diluted in distilled water).
10. Problems with Cables
If you are finding it difficult to change gears after adjusting your bite point, it is likely that the problem lies elsewhere in the drive train (e.g., your cables or chain are worn out).
Replacing these parts should fix this issue for good if necessary, which you can oversee yourself or ask an expert to do.
How can I Tell If I’ve Adjusted the Clutch Properly?
If you’ve adjusted your clutch properly, you should be able to find a sweet spot in which the bike stalls out with minimal throttle input. Here are some other signs that you’ve achieved a proper setting:
- The clutch lever should have enough play to allow for smooth gear shifting.
- You should be able to find a balance between a high idle speed and having the engine die as soon as you release the throttle.
- If you use your bike’s gears often, it should be easy to engage and disengage them.
- You should still have a steady idle speed even when your bike is parked on a hill.
- The clutch lever shouldn’t wobble side-to-side as you ride with it in your hand or grip it with your fingers.
- You should be able to find a balance between making smooth, easy gear shifts and having the clutch skip gears.
- The clutch should feel silky-smooth to operate, not stiff or sticky.
- It should be relatively easy to find your bike’s sweet spot while riding it for extended periods of time without stalling out your engine
- If you pull the clutch in without revving your engine, there shouldn’t be a noticeable delay or stuttering as you speed up.
- If your bike is difficult to start after adjusting your bite point, consider adding heat (by idling) to the friction plates until they expand enough for you to adjust them further. This should only be a temporary solution, however.
Conclusion
Finding your bike’s clutch-biting point can be a complicated process, but following the tips we’ve provided should make it a little bit easier. Remember to experiment with each of these methods until you find one that works best for you and your bike. Once you’ve done that, be sure to practice regularly so that you can master the skill of engaging your clutch quickly and smoothly. With a little bit of practice, you’ll be able to ride like a pro.