Installing a bike rack on your minivan is a great way to take your bikes with you wherever you go. There are many different types of best bike racks available, so it can be tricky to know which one is the best for your needs.
The good news is that it’s not difficult to install a bike rack on your minivan, as long as you know what you’re doing. The purpose of this article is to instruct you how to install bike rack on minivan step-by-step.
Tools You Will Need to Install a Rack On
The following are the things you will need in order to install your bike rack on your minivan. For example, you will need your bike rack as well as all the parts and tools that will be necessary to attach it to your minivan.
Proper Ways on How to Install Bike Rack on Minivan
When you decide to install a bike rack on your minivan, you will need to go through the following steps:
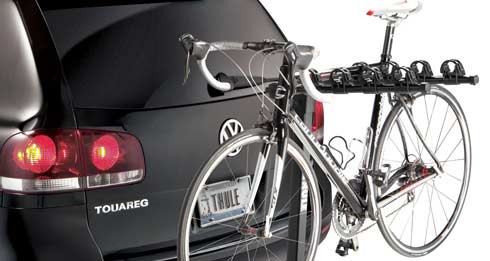
Find the Right Bike Rack
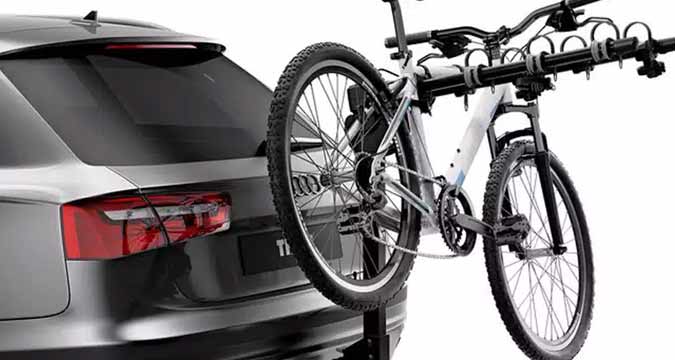
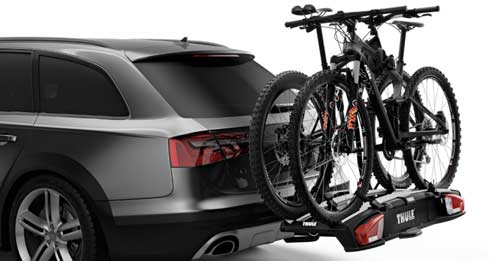
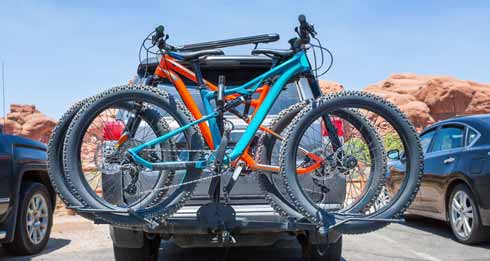
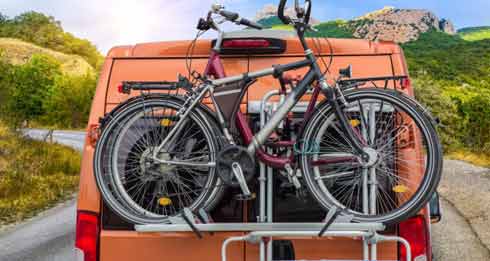
In order to install a bike rack on your minivan, you will have to choose the right one. There are many different types of racks available for all kinds of vehicles, so you need to find out which one fits your minivan best.
Once you find the appropriate bike rack for your needs, go ahead and buy it.
Check If It Fits On Your Vehicle
Not all bike racks fit on every type and size of a vehicle. So make sure that your bike rack fits your minivan before you buy it. You will need to know what the measurements are of the roof rack and back of your minivan in order to determine if the rack can be installed on your vehicle or not.
For example, if you purchase the wrong bike rack, it will not only cost you more money but can also be harmful to your minivan.
If you are still having problems figuring out how to install your bike rack on the minivan, contact your local minivan dealership for help and advice. The people who work there can help you determine if it’s possible to install your best bike rack on the minivan you have.
Decide the Location of the Bike Rack
The first step on how to install a bike rack on a minivan will be to decide where you want your bike rack to be mounted. You can find a suitable location for it by following these steps:
Check out the inside of your van and take note of all the things that could obstruct a potential location. You don’t want anything hanging off or blocking your bikes from being properly secured.
Takedown the headrests located in front of each seat, if possible. This way, you can determine where you need to place your bike rack.
Look at the back wall of the van and identify any items already attached there, such as a cargo management system or even dishes and other kitchen supplies that might interfere with your new installation process.
Once you’ve taken note of all the obstructions and obstacles that could prove problematic for your bike rack, you can begin to mark a few locations on the wall. You should also take into account how much weight your new bike rack will have to support when determining where to place it inside your minivan.
Position Your Bike Rack
In order to install a bike rack on the minivan, you’ll first have to position the bike rack. To do this, you want to make sure that you place it in an area where there aren’t any other items hanging off of the wall or blocking your installation process.
Place the bike rack just about anywhere between the front seats and the back wall of the van.
Choose How to Secure Your Rack
Now that you’ve decided where to place your bike rack and how it should be positioned, you can select a way how you want to secure it. There are several different ways which you can use:
Hang It on Hooks
This is one of the simplest ways how to install a bike rack on the minivan. You won’t need any tools to use this method, but it’s not the most secure way.
Attach It with D-Rings
This is a more advanced option that will give you better security, but it requires some tools to complete the installation process. If you’ve got the tools, this is definitely your best option.
Use Bungee Cords
This can be a good option for people who just need to use their rack on occasion, but it isn’t recommended for daily usage.
Mark the Bike Rack’s Location
Before you drill holes into anything, you should first mark the locations on your minivan where you want to install your bike rack. You can do this by simply placing the bicycle rack against the wall and marking where it touches the surface of the wall.
Measure Your Minivan

Before you drill holes into your van, take a moment to measure where you marked the racks’ location. This is so that when it comes time to drill, you can go slowly and be sure not to accidentally create any other problems.
Drill Holes in Your Van
Now it’s time to start drilling holes. To do this, follow these steps:
Place a piece of tape on each mark you made before marking them with a permanent marker. The tape will serve as a guide and allow you to see exactly where the holes should go without making any mistakes or creating new ones
Drill slowly and pay attention to what you’re doing, especially if this isn’t an activity that you perform often. Drill all the way through the tape, but don’t worry about going through to the other side of the wall yet.
Place screws in each hole and make sure they’re nice and tight. You can also add some sealant if you like before attaching your bike rack to your minivan.
Don’t forget to remove the tape after you’ve finished attaching your bike rack.
Pull Out the Strap
If you have any straps included with your new bicycle rack, now is a good time to use them. Simply pull out each strap until you connect them to something secure inside of your minivan. Most racks come with two straps that are connected to each other at the end, but if yours doesn’t, consider buying some more straps instead.
Apply the strap through your minivan’s door and to one of its interior supports. For example, if you have a headrest, pull it out and simply attach the strap around it while pulling both ends toward the back so that they don’t interfere with anything else in your minivan.
Lock It Down
This step applies only to those who aren’t using D-Rings or other advanced forms of attachment. If you are, then skip this part.
With your bicycle rack still attached to your minivan, take the padlock that came with it and lock everything down tightly. The last thing you want is for someone to steal any of your bikes when you’re on the road which is why security is the biggest part of the entire operation.
Remove Bicycle Rack
After you’ve reached your destination, remove your bicycle rack from your minivan by following these steps:
Unlock the padlock that’s securing everything in place. Make sure to put it back in its bag so that no one can steal it while you don’t have it on hand.
Unscrew the screws or bolts with a wrench and remove them along with any washers or other hardware that may still be attached. This is also why you want to make sure not to skip this step when attaching things since they’re all equally important for how to install a bike rack on the minivan.
Drive Safely With Your Bikes Attached To the Car
You’ve successfully installed your bike rack onto the minivan, but don’t make any sudden stops or turns when you’re out on the road. This can cause damage to your bikes or even your van if you hit something while making a sharp turn.
If you do encounter some problems during this process, such as accidentally drilling into something else, just take the rack down and try again. If you don’t, then you might risk causing some serious damage to your minivan or even yourself when driving around with your bikes attached.
If you follow these steps closely, you should have no trouble installing a bike rack on any minivan in less than an hour’s time. Remember that this process isn’t exactly simple and shouldn’t be taken lightly, especially if you’re new to performing these types of tasks.
Precautions to Take When Installing a Bike Rack on a Minivan

When you install a bike rack onto your minivan, you want to make sure that you’re careful about the following things:
- Be very careful when drilling holes in the van to make sure you don’t get any screws stuck inside. It’s not a pleasant feeling and could be costly if you have to take your minivan into a repair shop to remove them.
- Don’t drill anything into or through any important parts of the vehicle, especially things that keep it safe to drive, like the reinforced metal supports near the cab of the vehicle.
- Make sure to avoid drilling into nearby cables and wires since they can obstruct your installation process and cause damage later on when you least expect it.
- Make sure to use an impact-resistant drill bit before drilling anything if possible because other kinds can break under stress, which will cause you injuries and damage the material you’re trying to drill into.
- Never screw or bolt anything down too tightly because these are the tires that you need to be driving around with! If they become stuck, then it could create some dangerous situations for anyone nearby if you panic and hit the gas instead of the brake.
Benefits of Installing a Rack for Your Minivan
There are a few benefits to installing a bicycle rack on the minivan, including the following:
- There are more options for many different types of people. Whether you’re going somewhere with your spouse, kids, or friends, then everyone can bring their bikes along and share some fun memories while exploring the great outdoors.
- You’ll get more exercise by biking to and from your destination instead of driving there and searching for a parking space.
- It’s easier than you’d think when it comes to attaching a bike rack onto the minivan, especially when you have all the right tools on hand, such as a wrench and an impact-resistant drill bit.
- Bikes can take you to places where cars can’t go, which widens your options for getting out and exploring.
- You’ll save so much money because you won’t have to pay for gas or parking at the destination because you’re biking there instead.
- It’s an environmentally-friendly thing to do since it reduces carbon footprints and helps regulate the environment.
- It’s easier to feel safe when you’re biking with other people since it can be an intimidating activity for some.
Summary
Installing a bike rack on your minivan is definitely a beneficial thing to do, especially if you want to save money on gas and parking, get more exercise, or reduce your carbon footprint. Not only that, but it can also be a fun family activity that everyone can enjoy together. Follow our simple steps, and you’ll have your bike rack installed in no time!
Topics of Discussion: